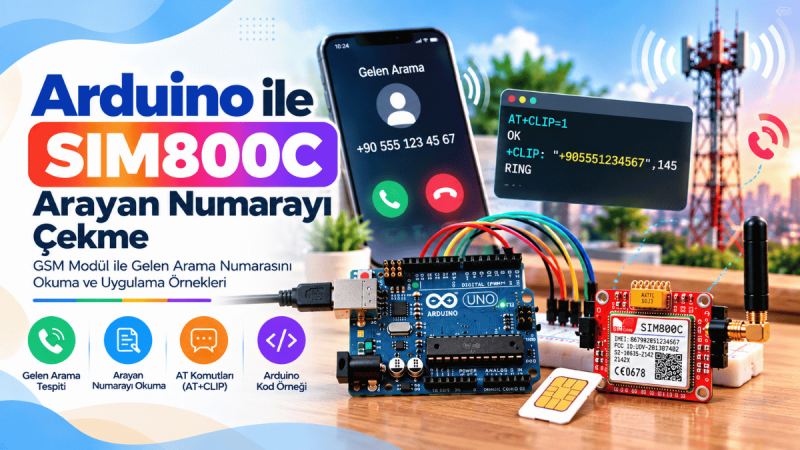
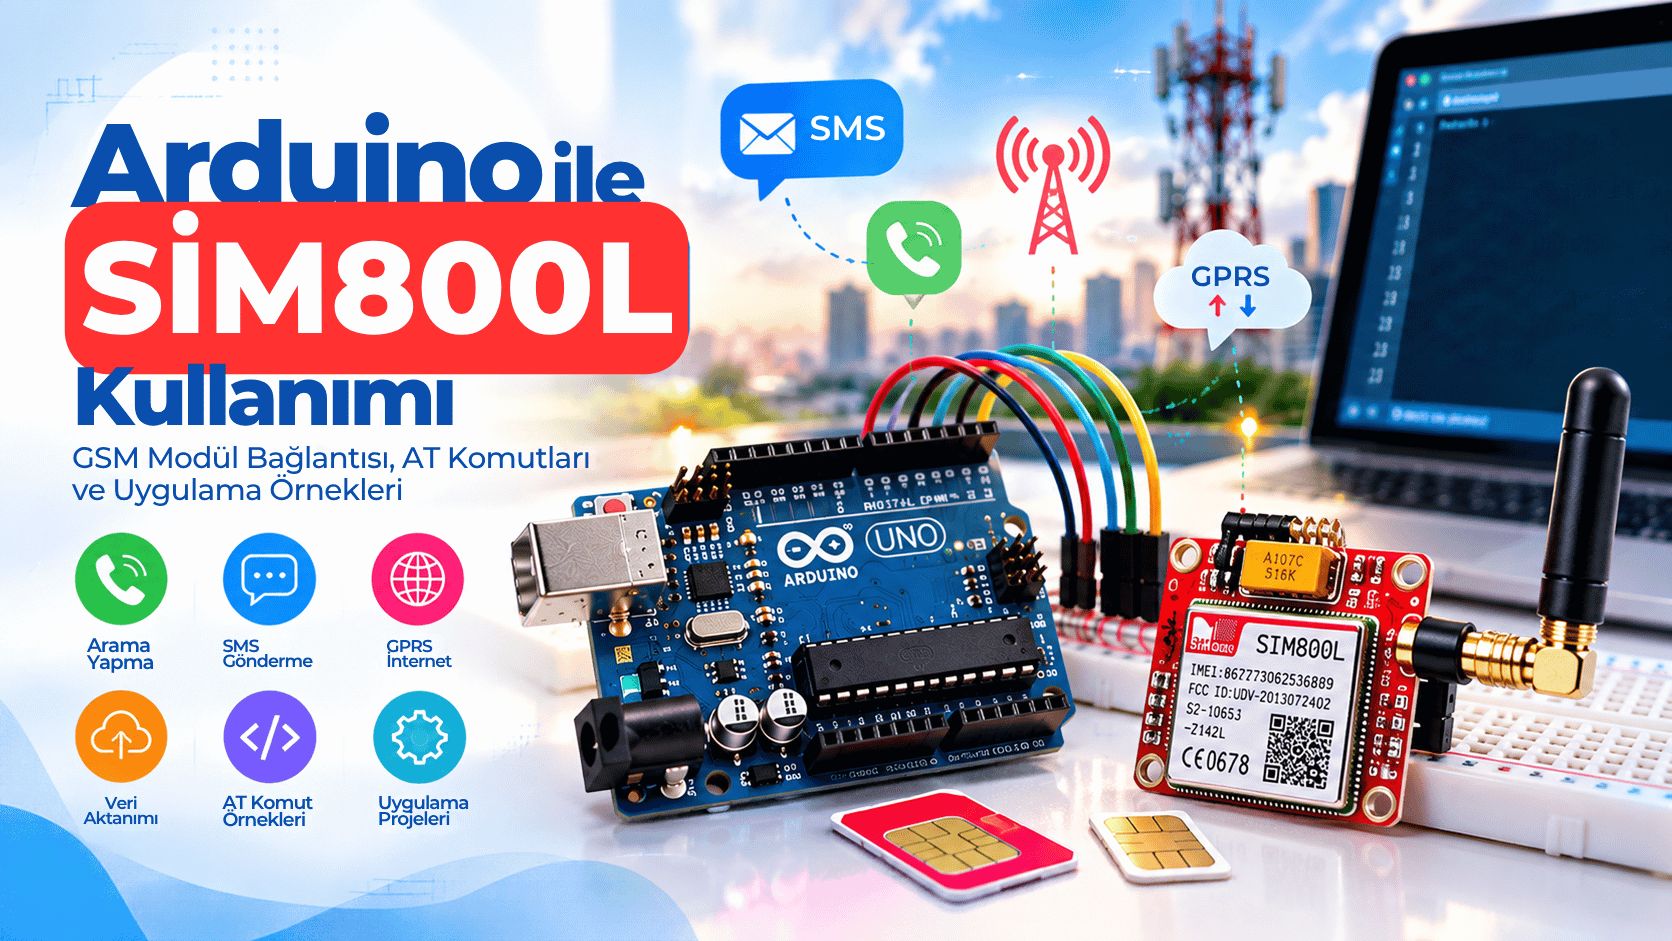
The SIM800L is one of the most affordable GSM/GPRS modules for Arduino, giving your projects SMS, voice, and basic internet connectivity. However, many makers run into power, baud rate, or wiring issues that make the module appear broken. This guide cuts through the confusion: you'll learn how to connect the SIM800L safely, communicate with AT commands, and send your first SMS using clean, reliable Arduino code.
What Is the SIM800L and Why Use It?
The SIM800L is a quad-band GSM/GPRS module that works on 850/900/1800/1900 MHz 2G networks. It communicates with a microcontroller using standard AT commands over a serial connection. Because it is compact, inexpensive, and widely available, it is a popular choice for remote monitoring, vehicle tracking, alarm systems, and other IoT applications where Wi-Fi is not available. Keep in mind that the SIM800L is not a 3G or 4G module; before starting a project, confirm that your country or region still has active 2G coverage with your SIM provider.
SIM800L Wiring and Power: Avoid the Most Common Mistakes
Correct power delivery is more important than wiring order. The SIM800L can draw peak currents up to 2 A during network registration and transmission. If the voltage drops below about 3.4 V, the module will reset, disconnect, or behave unpredictably. Use a stable 4 V supply rated for at least 2 A, such as a LiPo battery or a 5 V supply with a buck converter and a large capacitor (470 µF or more) across VCC and GND. Never power the SIM800L from the Arduino 5 V pin for extended periods, as the Arduino regulator cannot supply the required current.
Recommended Connections
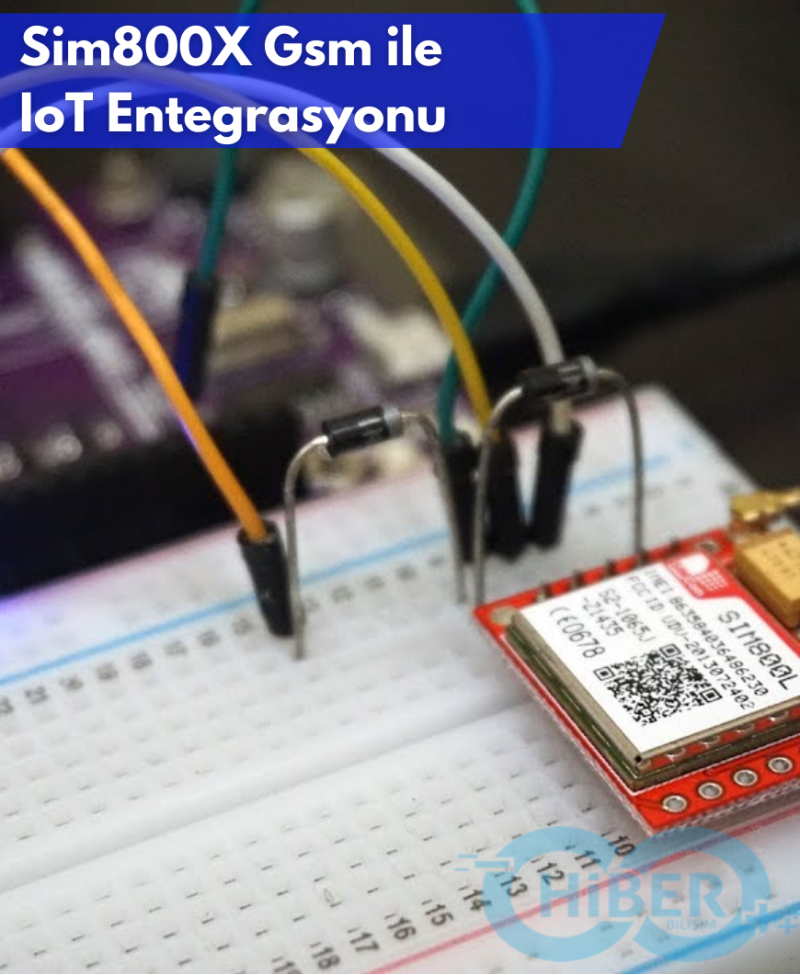
Connect SIM800L VCC to your 4 V supply, GND to common ground with Arduino, TX to Arduino pin 10, and RX to Arduino pin 11 through a voltage divider if possible. The SIM800L logic level is typically 2.8 V; a 5 V Arduino output may work in many cases, but a level shifter or a simple resistor divider on the module's RX line increases reliability. Keep wires short and use a good antenna.
Antenna and SIM Setup
Use a 3 dBi PCB antenna or an external antenna with a U.FL/IPEX connector. The small built-in metal antenna is often insufficient. Insert a valid SIM card with no PIN lock and confirm it is seated correctly. Then apply power and give the module a few seconds to register on the network.
Communicating with the SIM800L Using AT Commands
The easiest way to verify your hardware is to create a serial passthrough between the Arduino Serial Monitor and the SIM800L. Type AT and press Enter; the module should reply with OK. The following improved code uses SoftwareSerial at the SIM800L's default baud rate of 115200. If you see garbage characters, try 9600 or send AT+IPR=0 to enable auto-baud.
#include

// SIM800L connected to Arduino pins 10 (RX) and 11 (TX)
SoftwareSerial gsm(10, 11); // GSM RX, GSM TX

void setup() {
  Serial.begin(115200);
  gsm.begin(115200); // SIM800L default baud rate

  Serial.println("Arduino SIM800L Tester");
  Serial.println("Type AT commands in Serial Monitor:");
}

void loop() {
  // Forward data from SIM800L to Serial Monitor
  if (gsm.available()) {
    Serial.write(gsm.read());
  }

  // Forward data from Serial Monitor to SIM800L
  if (Serial.available()) {
    gsm.write(Serial.read());
  }
}
Sending SMS with Arduino and SIM800L
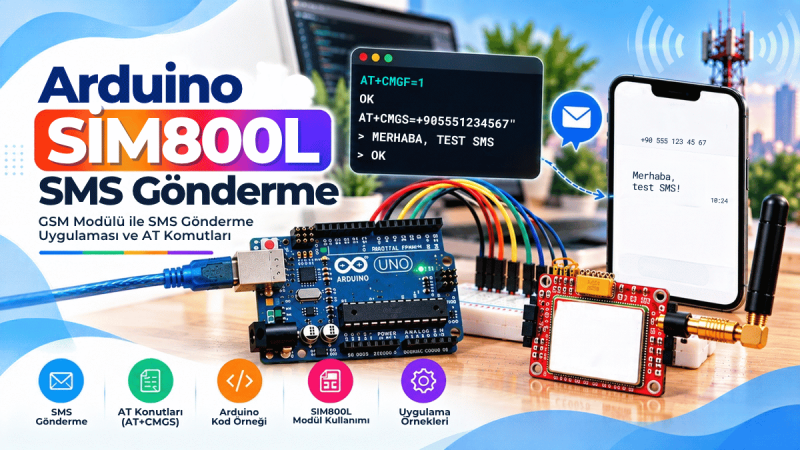
Rather than depending on a third-party library, you can send SMS messages using raw AT commands. This gives you full control, works with any SoftwareSerial pins, and avoids library version issues. The code below asks for a phone number and message in the Serial Monitor, then sends the SMS using AT+CMGS. It checks communication, sets text mode, and sends the Ctrl+Z character to complete the message.
#include

SoftwareSerial gsm(10, 11); // RX, TX

void setup() {
  Serial.begin(115200);
  gsm.begin(115200);

  Serial.println("SIM800L SMS Sender");
  delay(1000);

  // Check communication
  gsm.println("AT");
  delay(500);
  while (gsm.available()) Serial.write(gsm.read());

  // Set SMS text mode
  gsm.println("AT+CMGF=1");
  delay(500);
  while (gsm.available()) Serial.write(gsm.read());

  Serial.println("Ready. Enter phone number and message via Serial Monitor.");
}

void readSerialString(char* buffer, int maxLen) {
  int idx = 0;
  while (idx < maxLen - 1) {
    while (Serial.available() == 0);
    char c = Serial.read();
    if (c == '\n') break;
    buffer[idx++] = c;
  }
  buffer[idx] = '\0';
  // Flush remaining input
  delay(100);
  while (Serial.available()) Serial.read();
}

void sendSMS(const char* number, const char* message) {
  gsm.print("AT+CMGS=\"");
  gsm.print(number);
  gsm.println("\"");

  delay(500);
  gsm.print(message);
  delay(100);
  gsm.write(26); // Ctrl+Z to send
  delay(3000);

  Serial.println("SMS command sent. Response:");
  while (gsm.available()) Serial.write(gsm.read());
}

void loop() {
  char phone[16];
  char text[161];

  Serial.print("\nPhone number (with country code): ");
  readSerialString(phone, sizeof(phone));
  Serial.println(phone);

  Serial.print("Message: ");
  readSerialString(text, sizeof(text));
  Serial.println(text);

  sendSMS(phone, text);
}
The response should contain +CMGS: and OK if the message was sent successfully. For reliable operation, always wait for the module response before sending the next SMS.
Common SIM800L Issues and How to Fix Them
<ul>
<li><strong>Module blinks but does not register:</strong> check 2G coverage, SIM orientation, and antenna quality.</li>
<li><strong>AT commands return garbage:</strong> set baud rate to 115200 or send AT+IPR=0 to enable auto-baud.</li>
<li><strong>Module resets when sending SMS:</strong> power supply cannot deliver 2 A peaks; add a large capacitor and use a stronger supply.</li>
<li><strong>No response from AT:</strong> verify TX/RX connections, common ground, and that SoftwareSerial pins match the code.</li>
</ul>
The SIM800L is a powerful and budget-friendly GSM module for Arduino, but it demands proper power, a stable antenna, and the correct baud rate. By following the wiring and code examples above, you can reliably test the module with AT commands and send SMS messages without unnecessary libraries. Once you master these basics, you can expand your project to GPRS data logging, remote alarms, or vehicle tracking.
Now that you know how to wire and program the SIM800L, send your first SMS and then explore GPRS data logging for your next IoT project.